One of the most popular articles on Nerds on Earth is our list of simple tools used to clean comic books. In particular, we’ve received great feedback on the inclusion of the Tombow Mono Zero eraser, as that’s not an item found on other lists around the Internet®, yet you Nerds have found it to be super helpful, particularly in small white areas on comic covers.
So, Nerds have reached out to me to ask, “What’s next?” Well, “what’s next” is wet-cleaning and pressing comics.
Well…I’ve been hesitant to say more on the topic because I only use these techniques on my own comics and cleaning is actually controversial in some circles, despite CGC offering a cleaning service themselves because they – the certifying body – don’t consider dry-cleaning to be restoration.
So, this isn’t to discuss the “morality” of cleaning comics or the tools you should use, nor am I here to do a deep dive, offer hot takes, or to be insistent on one correct process.
But although I’m a novice and don’t want to get into wet-cleaning at this time, I suppose I could share a few of the simple tools I use as the very first step in pressing my personal comic book collection.
Pre-Work: Find the Flaws
You’d be shocked at how many smudges, fingerprints, and small, nearly imperceptible flaws there are on a comic book. Often the naked eye can’t spot them.
A small UV flashlight is sometimes the ticket. Simply turn out the lights and wash the flashlight over the book. You’ll see flaws in a new light.
This is particularly useful for spotting “color touch.” Let’s say your comic had a black cover with some flaws in the coloring. Well, a well intentioned Nerd might take use Sharpie to touch up those areas. This is a big no-no because it is considered restoration. Spotting areas like that are important before you go any further.
Spot Work: Working on a Small Area
Again, I’m just a filthy casual when it comes to pressing comics, so rather than go in-depth on the full breadth of the process, I’ll focus on using a tack iron to take out small divots or dents, because it’s an inexpensive way for you to begin to practice pressing techniques on your comics.
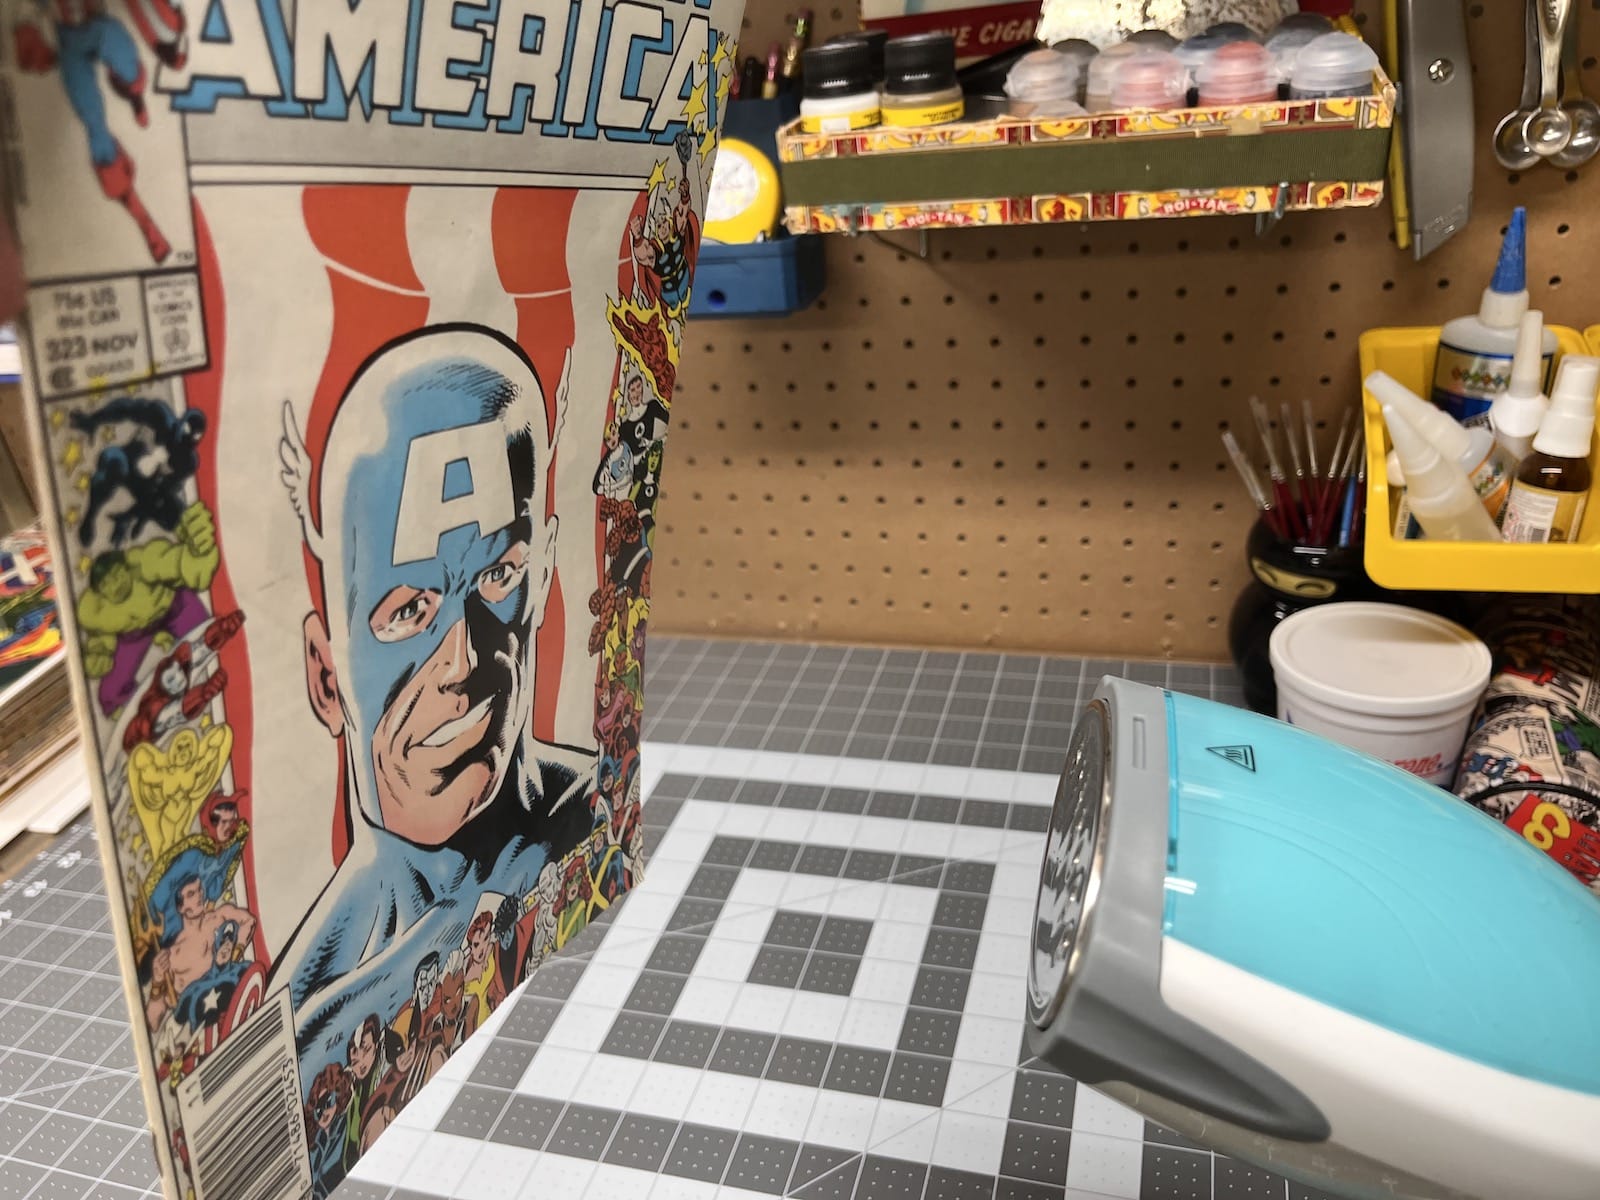
STEP 1: Add a Spritz of Moisture
Let’s say I’ve spotted a small divot in the cover of my comic. What I do is first use a simple at-home garment steamer. I hold the steamer a good foot away from the comic, then pull the trigger and use small circular motions to add just a tiny spritz of steam to the book for a few Mississippi.
Careful: Some steamers “spit” when they first turn on, so make sure you don’t have your book close. You do not want to get the book wet and you certainly don’t want to cause water damage by having droplets splatter on the book. You simply want to add some warm steam to make the problem area a little more supple.
++ Get a garment steamer here.
STEP 2: Warm it up, Kris.
Next you want to add heat to the problem area.
Don’t use heat directly on the book, place a piece of silicone paper over the book. No matter hot the situation gets, silicone paper will prevent any obviously unintentional transfer from the book to the bottom of the iron.
Using gentle figure-8 motions, rub the iron over the dent. Don’t let the iron linger, keep it moving.
Do this for several seconds, then check the book. Any progress? You may have to repeat this several times, but by golly you’ll eventually see that little divot begin to lessen as the cover slowly develops a uniform smoothness in that little area.
I use what is called a sealing iron because you can adjust the heat. But I’ve seen some others who use little mini irons used in leather working, presumably because they want a smaller, more precise heating area. You do you.
++ Get a mini bonding iron here.
++ Get some silicone paper here.
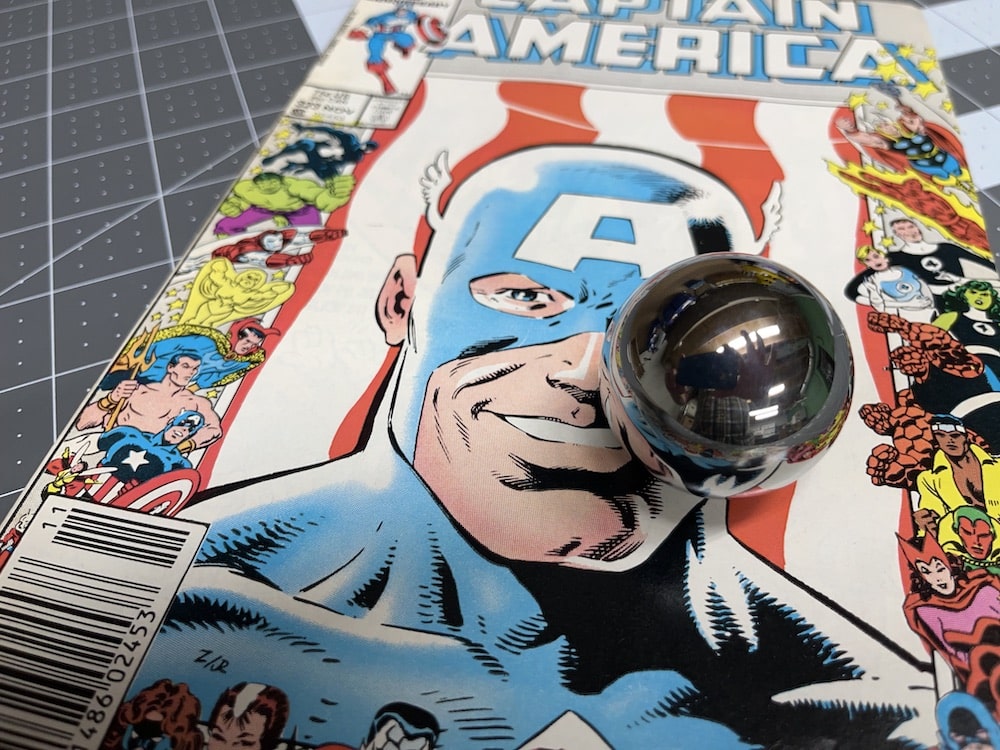
STEP 3: Go balls out.
If the divot or indentation is particularly troublesome, you can use a giant ball bearing to help.
Using gentle pressure and smooth, rolling motions, work the ball bearing over the area that needs a little help. Warm and repeat here, if necessary.
You aren’t pressing here, you are really just using the weight of the ball bearing to gentle realign the warm, moist paper fibers so the divot blends and becomes less noticeable on the comic’s cover. Remember, the last thing you want to do here is to roll a new divot into the paper!
++ Get a 2″ chrome steel ball bearing here.
Remember, this is just the first step. Your comic will need a full press but that’s beyond the scope of this article. This is simply to give you an understanding of some simple tools you can use to experiment on some non-valuable books to learn to first fix small trouble areas on a comic book cover before you go full press with it.