Welcome back to MSF Mondays! Each week we break down one more aspect of the hottest mobile game, Marvel Strike Force!
This is the second part of our series on beating the Chapter 4 Doom Campaign Nodes in Marvel Strike Force! You can check out the first installment, on 4-1 through 4-3 here.
The ultimate goal of beating these Doom War nodes is to get the ability to farm nodes for Symbiote Spider-Man! So, let’s talk strategy, things to look out for, and primary targets as you complete these nodes!
MSF: Doom Nodes 4-4 to 4-6
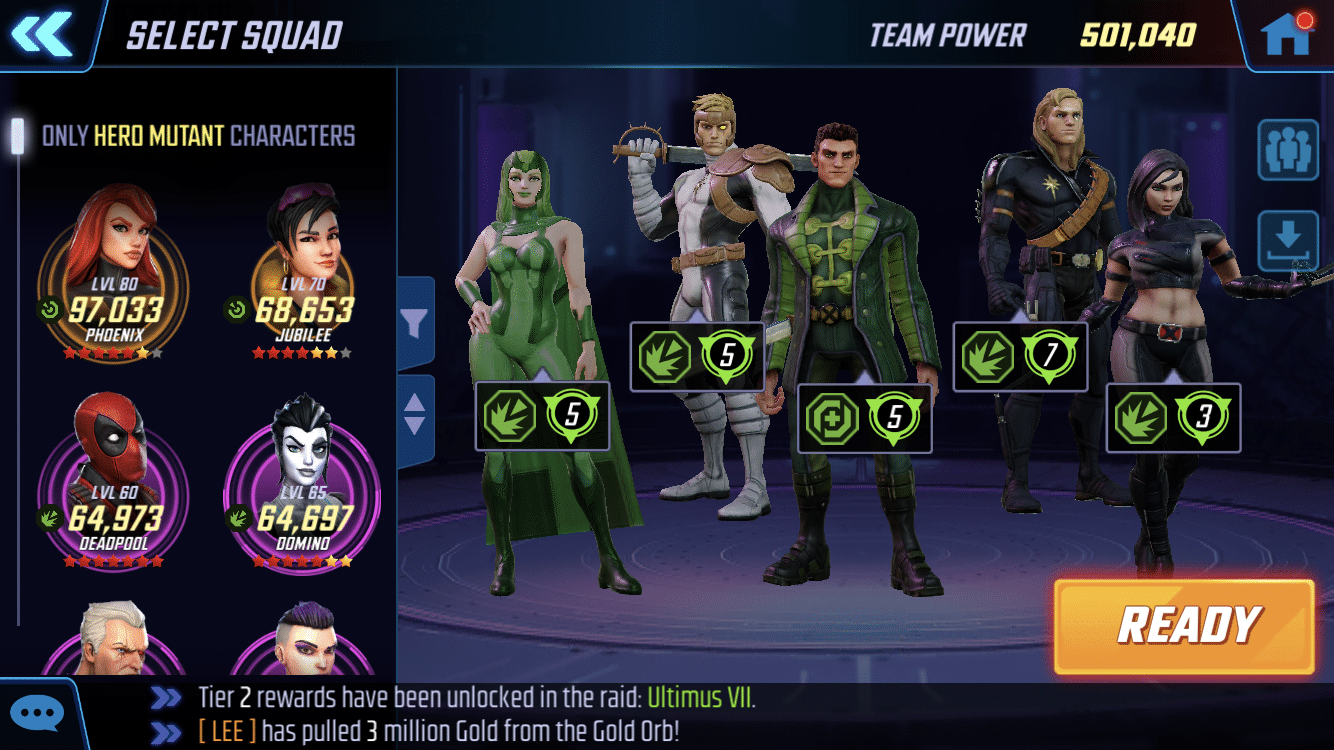
These three nodes require: Hero Mutant characters. Luckily for us, there are some really powerful toons with great synergy that you can use to help you breeze through these nodes. All four of the current X-Factor toons work well here: Polaris, Longshot, Shatterstar, and Multiple Man.
For your fifth, you have a couple different options. I chose to run with X-23, since she is one of my top toons. Her focus on damage and getting past Taunts also comes in handy. Phoenix is another choice but you should be warned: if you summon Dark Phoenix, you won’t earn a 3-star rating. I also like Jubilee here, thanks to her Stun and Blind capabilities. Anytime you’re trying to 3-star, forcing the enemy toons to miss or lose a turn is huge in making sure you survive.
Overall, Astonishing X-Men would be a worthy choice for these nodes, especially if you have Jubilee. Mine weren’t as high a level, so that’s why I went with X-Factor. You’ll also see that X-Force could be an option for you. They are an exceptional offensive team, but I like X-Factor and Astonishing X-Men more due to their inherent ability to heal damage.
Doom Node 4-6 will likely give the most trouble, as Omega Red is a formidable foe. Even with Doctor Doom on your side, it can be a real challenge. I don’t know what the lower Team Power threshold is for a 3-star rating, but it’s probably around 400K+ depending on team composition. If you can 3-star it with lower than that, I want to hear about it!
Ideal Team: Polaris, Longshot, Shatterstar, Multiple Man, X-23*.
*Can swap in Jubilee or Phoenix depending on level. Beast is also usable in 4-6 if you are finding it difficult to survive the negative effects.
Doom Node 4-4
Wave 1: Captain America (Sam)*, Sharon Carter*, Graviton x2, AIM Monstrosity x3
Right away we have a lot of enemy AIM synergy, and two Secret Avengers. Power-wise, the Secret Avengers are more of a threat, so taking them out first will set us up nicely for the future waves. Take the time to build up your clones with Multiple Man, and use those AoEs by Shatterstar and Longshot to damage the entire enemy team.
You’ll find that after taking out the two Secret Avengers, the AIM Monstrosities will be fairly beat up. Polaris’ ultimate might even finish them off. Be mindful of X-23’s Ultimate ability; don’t burn it to clear out a Monstrosity or Graviton if you don’t have to. Save it for Wave 2, which can drop as soon as when there are 3 toons left.
Wave 2: Scientist Supreme, Maria Hill*, Nick Fury*
Now you can see why we targeted Secret Avengers first. If we hadn’t, we’re suddenly dealing with almost a complete team. At this point, we also get an extra ally on our side in the form of Doctor Doom. Focus fire on the new Secret Avengers that popped up. Scientist Supreme can be a threat, but I consider a bunch of minion generation by Fury and Maria Hill to be more pressing. The next wave drops once you clear the floor.
Wave 3: Maria Hill*, Sharon Carter*, SHIELD Trooper x2, AIM Infector x2
You need to be careful with this wave because of the SHIELD Troopers. They will get free attacks whenever you target adjacent foes, and that damage can add up. Using your Multiple Man clones as cannon fodder sacrifices works really well in this situation. Target the Secret Avengers, as the Infectors don’t post much of a threat by themselves. If you’ve saved X-23’s Ultimate, this is a great place to finally use it. Minions are squishy.
Doom Node 4-5
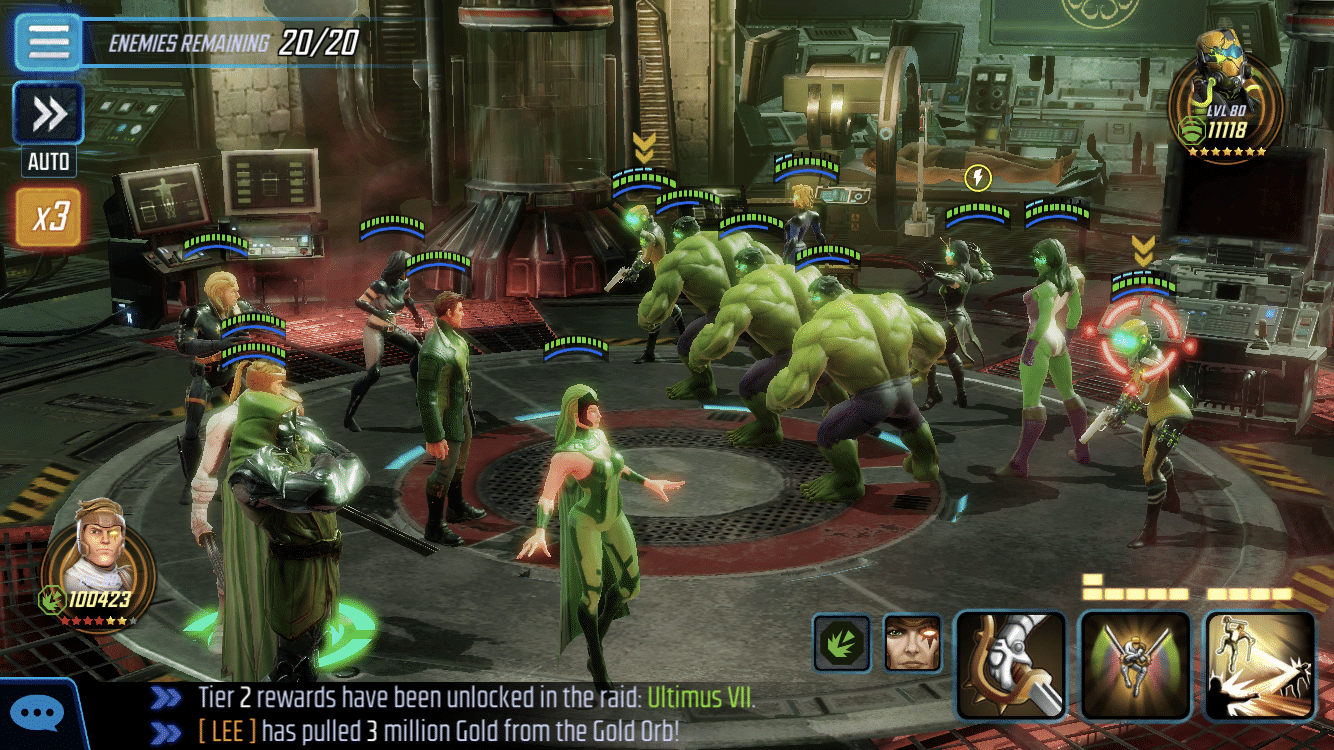
Wave 1: AIM Operator x2*, Hulk x3, She-Hulk, Mantis, Invisible Woman
This node requires us to take down the enemy Operators, which will be marked with a yellow double-down arrow. With three enemy Hulks that will be luring us with Taunt, shielding by Invisible Woman, and Healing via Mantis, the clock will be ticking immediately. Focus on the two AIM Operators. Again, using the AoEs from Shatterstar and Longshot’s Special abilities will go a long way. Plus you get Defense Down applied to those Operators.
We also get a Doctor Doom again, so take advantage of his power and AOEs.
Once the Operators are down, the targets are fairly open-ended. I like to clear some of the Hulks first, because Invisible Woman and Mantis don’t have much armor and won’t detract from our targeting of more Operators in the next wave.
Wave 2: AIM Operator*, Hulk x2, Black Widow, Mantis, She-Hulk
In this next wave, there’s only one AIM Operator to worry about, so start attacking them. You’ll have the same challenges and strategy as Wave 1, except with one fewer Hulk and a Black Window in place of Invisible Woman. Longshot’s Ultimate will deal massive damage to the Operator, and then you can clean up the rest, starting with the Hulks. Since you have the time, build up the Multiple Man Clones again. Wave 3 drops at some point, as early as having two toons remaining on the enemy side.
Wave 3: AIM Operator x2*, Hulk x2, She-Hulk, Black Widow
More of the same with Wave 3! Depending on what you had leftover, there could be three Hulks to deal with. Just like before, focus your attention on the AIM Operators; they are the win condition. Of course, the Node doesn’t clear once the Operators are defeated; you’ll still need to get rid of the remaining enemies.
If you’re finding yourself having trouble with this Wave, see if you can save X-23’s Ultimate. That will allow you to hopefully target the AIM Operator, or at least get rid of a straggler from a previous wave. With Doctor Doom in tow, you should be able to have the firepower and range to take this down. Hulks can be a pain with their Taunt and slam abilities, so Doctor Doom’s basic ability applying Disrupted can come in handy.
Doom Node 4-6
Wave 1: Omega Red, Bishop, Kitty Pryde, Silver Samurai*, Hela, Sabretooth*
Thank goodness that we have Doctor Doom on our side because this one starts out difficult right away. Omega Red is no joke, especially with two other Weapon X Members. We are also immediately constrained by Bishop’s Taunt, and we will likely take some hits before we even get a chance to take a turn.
Follow the same steps that we’ve been using in the previous nodes: Shatterstar to apply Defense Down and work through Bishop to get access to the priority targets. Although Omega Red is the biggest threat, he is also going to be the hardest to knock down. I recommend focusing on Sabretooth and Silver Samurai to get rid of that synergy. You’ll just have to chip away at Omega Red as the Waves go on, but at least he will be without his beloved Weapon X allies.
More Weapon X arrive in Wave 2, so we really need to take out the first two before that happens.
Wave 2: Silver Samurai*, Lady Deathstrike*, Beast, Hela
Again, Weapon X members take priority here. Lady Deathstrike should be the easiest to take out, but at this point of the fight you probably have a lot of negative effects piling up. One issue with Lady Deathstrike is that she can gain a Dodge condition. If she has Dodge and you have an open opportunity to take out a Beast or Hela, it’s better to clear the weaker target and use your AoE to get rid of the Dodge. That way, your attack isn’t just wasted. A MuM clone can also work for you in this regard.
This is where Multiple Man can shine, because once he uses his Ultimate you have way more targets for the enemies to choose from. The way the Silver Samurais attack also have a high chance of hitting MuM if he’s in the middle of your team, thus triggering more clones.
In most instances of running this node, I found that I would inadvertently clear the Beast and Hela before the Weapon X members. If you can avoid this, you should have an easier time. There are only two waves, so you won’t be triggering additional waves if you clear other enemies first. Either way, Omega Red always seems to be the last enemy standing, which is why we didn’t make him a priority from the beginning.
There is a high risk of Polaris falling during the second Wave, and she is hard to protect. You can always try to swap her out with Jubilee or Beast to get more longevity for your team. You will be trading AoE for healing, but sometimes that’s what we need to get the 3-star.
This is a difficult node to complete simply due to Omega Red. If you’re able to take him out in the first wave, then the rest should be a cakewalk. It will be hard to accomplish, which is why I suggest this secondary option.
Well I hope this helps you take your Squad from a D+ to a B- Commander!
Previous Installments
You can check out all of our other Marvel Strike Force articles right here! We try to put out a new article every Monday, so stay tuned for even more content.
Join our Discord is you want to join us in nerding out over Marvel Strike Force.