I don’t paint.
I don’t paint my nails. I don’t paint the town red. I don’t paint it black. I don’t enjoy painting the walls around my house.
I don’t paint.
So why did a non-painter decide it was a good idea to dabble in painting miniatures? OK, you’ve got me on that one, but I can unequivocally say that painting minis is a wonderful hobby and I’ll share some of my early lessons in case you’re interested in giving miniature painting a go.
Step One: What’s a Miniature?

Maybe you don’t even own any miniatures. First of all, they’ve come a long way from the old pewter days of minis used almost exclusively for D&D. Modern manufacturing methods are creating some fantastically detailed sculpts in a wide array of genres and materials. You can even create custom ones.
There’s a tiny little world out there. BUT I’d advise a beginner to simply go to your local friendly neighborhood game store (FLGS) and pick up a specific type: WizKids unpainted.
We did a full writeup of WizKids unpainted minis, but the gist is you get two miniatures in a single blister pack for about $5. Start with something that looks fun to you but also doesn’t appear to be terribly detailed. The WizKids line comes pre-primed, so you don’t need to worry about the primer step. You can jump right into it.
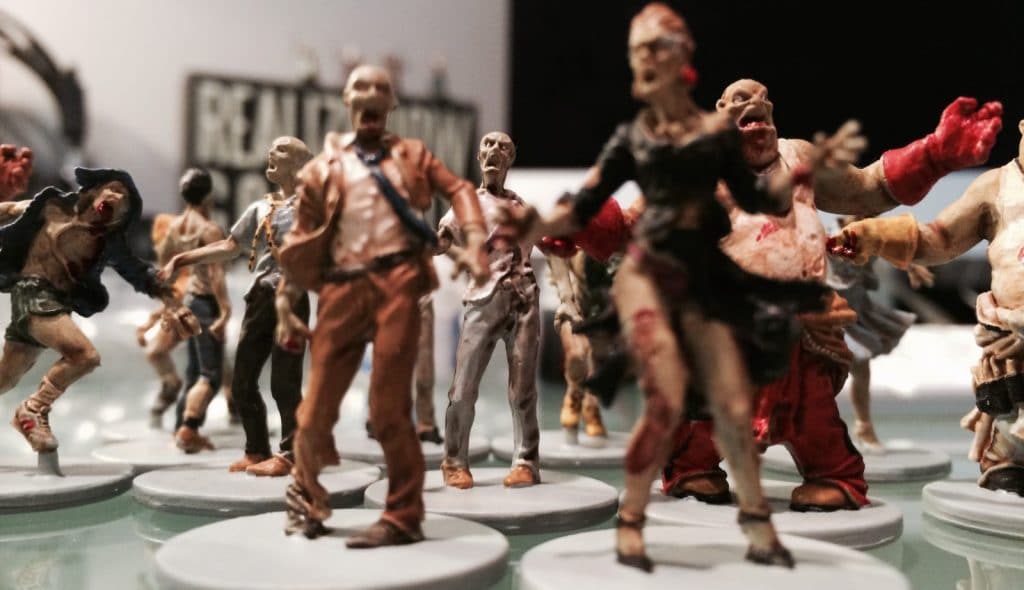
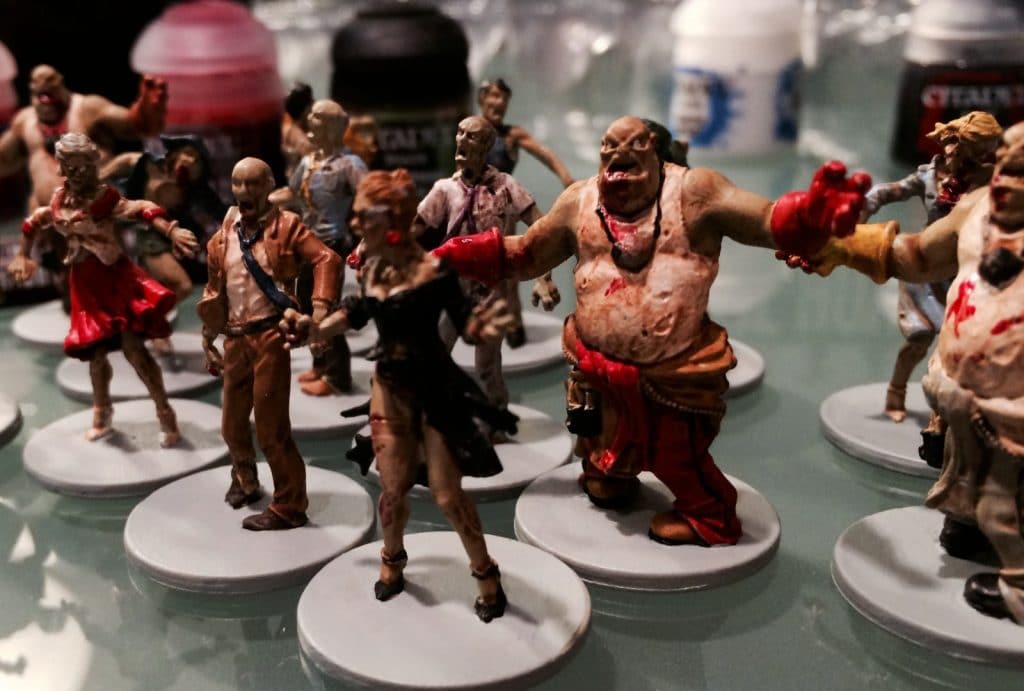
Another option is to purchase a board game like Zombicide. It comes with nearly 40 miniatures! All are unpainted with nice, simple sculpts, making it a perfect starter kit for a new painter.
Step Two: Do I Use Finger Paints or Something?
Part of my impetus for giving this a shot was that someone gave me some supplies from an old project, including tiny little detail brushes. The point is you can start simple. Here’s a starting shopping list:
- If you don’t get the WizKids minis that come already primed, I recommend a can of Army Painter Barbarian Flesh spray primer. That makes a great base coat.
- Get a simple set of fancy brushes, plus a few cheapies that I’ll explain below. Army Painter sells a set of brushes that matches the marketing of WizKids miniatures line. Called Nolzur’s Marvelous Brush Set, it includes a detail brush that will be your workhorse, an itty bitty brush for eyeballs and stuff, plus a dry brush that you won’t use much at first.
- Miniatures painters use a product called “shade.” Shade fills in crevices and gives the miniature a deeper, more textured look for very little effort. You can get a huge can from Army Painter called Quickshade. Total overkill. Instead, get 2-3 little $4 containers of shade from the Citadel line like Nuln Oil, which is sold in almost every game shop. Or you can get a shade starter kit.
- You’ll need an assortment of colors. Army Painter has a nice starter set. If you want everything at once, they have a set that includes brushes, shade, and a mini as well. But get your start with a black, white, silver, red, blue, yellow, brown, and green. You practice dropping out a little paint, then once you are comfortable you can begin mixing drops of colors to make new ones.
Step Three: The Actual Application of Paint

Again, we’re all a complete novice at this at some point, so I understand being hesitant to invest much money into it, but you’ll be really glad that you did.
Painting miniatures is relaxing and enjoyable (and relatively cheap!). In a way, it’s a nerd’s version of meditation. I turned on my desk lamp, played some St. Lucia quietly in the background, and had a really peaceful time painting my gory, ferocious little monsters.
Determine early that you are new to this and not yet skilled enough to paint anything detailed or fancy. Keep to broad base coats and keep color mixing to a minimum. Don’t try any dry brushing techniques early. But practice and that stuff will come.
Here are some tips:
- The secret is to barely put any paint on your brush. Dip just the tip.
- Mix a drop of water into your paint. Thinner paint goes on more easily. Just don’t water it down too much; just a bit.
- Buy a pack of cheap $1 brushes from Dollar tree for mixing up paint and for shade. Keep your nice brush in good shape.
- I chose zombies early because the shading is so forgiving. It simply makes them look like they’ve rolled in the mud, but gives them depth and a grey, aged look. Any goofs I cover with blood, a paint with the gloriously epic name of Blood for the Blood God. Perfect.
Painting Miniatures: Closing Thoughts
I made the mistake of looking online at miniatures painted by pros. (Never compare your beginning with someone else’s middle.) Mine aren’t even in the same league, but I’m pretty pleased with my first effort and I’ve had a GLORIOUS time doing it.
A few paints and just a couple of brushes is just fine. And although YouTubers like Sorastro show advanced techniques, it is handy to watch a few as you practice. Just don’t compare yourself to them or expect those results! Have fun and show yourself some grace.
One more recommendation: Imperial Assault from Fantasy Flight Games will appeal to Star Wars fans as it is loaded with unpainted miniatures (I painted my Stormtroopers). But the unpainted WizKids line is the least expensive place to start by far.
Painting Miniatures: Epilogue!

I have two daughters who love to cozy up next to me and do the things I do.
All it took for them to be able to paint miniatures with me was a trip to Dollar Tree. For a buck I got a bag of the old school green plastic army men. I told them that those were their very own minis, then set them up with their normal set of washable paints and they went to town.

